
Hello everyone! That fall chill is in the air here in the mornings now, making my morning coffee even better than normal.
I feel like I have so much to share today! I will try not to talk your ear off.


Two weeks ago was our city wide garage sale and we had such a good time checking everything out – and buying some things as well! Wyatt decided he had to have that tiny fisherman which he kept calling a fisherman gnome. We had picked that up while on a neighborhood walk and Wyatt rode his little bike home, holding it the whole time. Little fisherman gnome now lives in our den. My husband also found that giant snail in a box of tools, and knew I would want it. He knows me so well! I love it! And finally, we picked up four different paintings/pictures that I had a master plan for.
Wyatt and I also went to an immersive Van Gogh exhibit in Detroit with my dad. We had so much fun!! I thought this immersive experience would be much more accessible to Wyatt as we learn about Van Gogh this month, and it seemed like a fun way to start the school year, with a special field trip. It was pretty amazing actually. The walls, ceiling, floor, everything is covered in images and it moves and flows with music. You are literally in the paintings, and it sweeps you away into the scenes. When they played one of my favorite songs, Non, je ne regrette rien by Edith Piaf, I literally stood up, it was just such a powerful, exciting moment. I didn’t even film or take photos during that part, I was just fully in. I did talk to Wyatt about the scenes we were seeing, the music, and since there were only like ten other people there with us we were able to freely explore and walk around. I know that my dad loved it as much we did. I caught Wyatt bouncing around to the music, and clapping a few times throughout, and it made me so happy.


On this past Saturday, we went to a Halloween/fall themed festival with my brother and his family down in Detroit. It was a nice time! I don’t think any of us bought anything but it was fun to be together and chat. The kids enjoyed all the monsters and everyone enjoyed the Lyra Hoop aerialist.


Later that night, Billy and Wyatt and I put those paintings we got at the garage sale to use! I had been seeing around the internets how people were painting ghosts into old pictures and paintings. Well, we wanted to do that too, but we didn’t want to permanently alter the painting in the process. So Billy came up with the idea of using wax paper and it turned out so cool!! Wyatt did two pictures, I did one, and Billy did one, and we had so much fun! Wyatt wanted his ghosts to have happy faces so they are the cutest little ghosts you ever did see! Our works of art are now displayed proudly around our home – in the den, in the hall, and above my bed. Lol. We had to take a few things down temporarily but that is ok, this was so fun and festive. And after Halloween is over, I think two of the paintings will go to my mom’s apartment if she wants them, and one of them will hang in Wyatt’s room. The other we will just store until next year!


The lighthouse minus ghosts is going to hang in Wyatt’s room for a bit I think. He seems to like lighthouses and ship captains and nautical life lately. I blame Grandpa Rabbit on Peppa Pig.
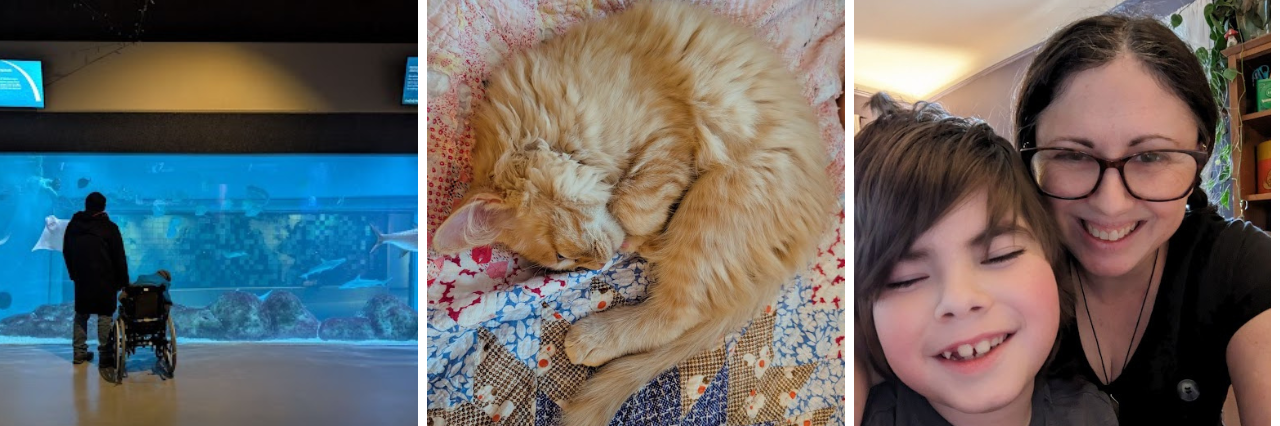
And then here are some random photos from the old camera roll!


And now I need a coffee refill! Have a good one everyone!


")
")
")
")
")
")
")


 I love my friends. I don’t get to see them as much anymore, now that we are all crazy running around to work or with kids or all the other stuff that comes with being an adult, but we do try to get together at least once a month for book club – and sometimes to try a new thing! In the past we have gone to those paint and sip nights, where everyone paints the same picture and drinks wine, and have had a blast – although we have ended up with paintings that don’t always match our decor (like the giant peacock that I have). Not that it matters that much, it’s all about the fun!


