Over the weekend, my sister-in-law Chrissy showed me how she makes shampoo bars. We both are die hard fans of soap bars and shampoo bars, and Chrissy started making them last fall in her kitchen. For my lesson, she moved it outside and we masked up – but only for the lye. We were able to socially distance and hang out and make cool things. I have been wanting to learn how to do this but the lye freaked me out. I had visions of myself falling face first into a vat of boiling lye and emerging as a supervillain. Or something similar. So Chrissy was out to show me how non-scary this whole process really is.

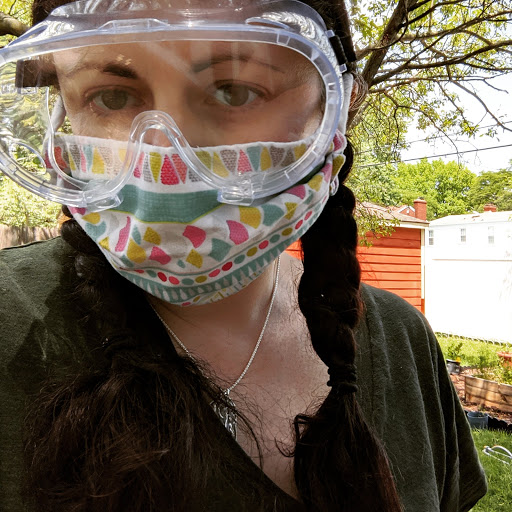
Wasn’t she nice to bring everything outside to show me how to do this? I think so. One thing I learned is to have dedicated bowls and products just for soap making due to the lye. And you can’t use anything aluminum, because that could cause a bad reaction. Chrissy actually bought all of her supplies at the dollar store, including her goggles and long gloves. And then we just wore our masks that are just a normal part of life these days. (My mask is from Love Woolies). I bought my goggles and gloves from Amazon since I am not really shopping these days.


We used a recipe from The Nerdy Farmwife so if you want to make these, make sure to pop over to her site for the full instructions and not just my abbreviated version. She has many recipes as well as a soap making 101 post. That being said, after Chrissy added all the oils and shea butter it was time to add the lye. And it wasn’t as terrifying as I had imagined! You do have to take precautions though – you don’t want to get it on your skin or in your eyes, and you don’t want to inhale the fumes, so avoid breathing those in. If you have breathing issues or sensitive lungs at all, wear a mask. Do this project in a well ventilated room, no matter who you are. Chrissy said that in the winter she keeps the window open in the kitchen and sets the lye solution near it, and when she adds the lye to the water and mixes it, she turns her head away from the mixture. Also, you never want to add water to the lye; you want to add the lye to the water, or you will create a volcanic reaction. But if you follow these rules, you should be ok.
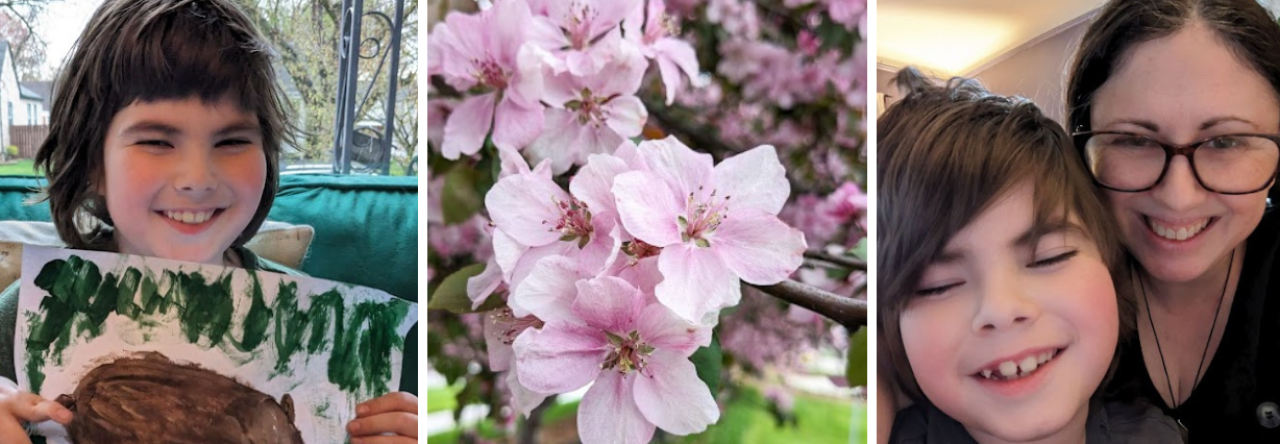
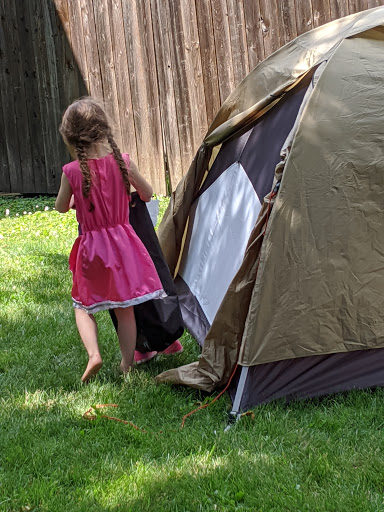
Then we waited for everything to come down in temperature. The lye solution creates a heat all of its own, which is just crazy chemistry! But the oils and things are heated up to melt everything down. So both have to cool before they can be mixed together. While we waited, we just chatted and I checked out the garden and talked to my niece who was running around the yard. A little wren came down and was singing away to us – we later realized it had built a nest in the birdhouse in the tree and was probably mad we were so close! I can’t tell you how just nice it was to be doing something different for a change. Billy had the kiddo, I was chatting with Chrissy, one of my very best friends, and the day was gorgeous.


Once everything was cooled down low enough, Chrissy mixed everything together and used an immersion blender to thicken it. You basically blend it on low until it looks like well, shampoo. You keep doing it until you get trace, which is when you pull the blender out and the drip forms a line on top. Then you carefully pour the mixture into your mold, cover it, and let it sit for 2-3 days. After that time you cut it into bars, then let it cure for however long it takes to cure, a few weeks generally. Then all you have to do is clean up! The lye solution is still active until 24 hours has passed, so you don’t want to get any of this any on your skin. Chrissy carefully washes the smaller items, but bags up the bigger items and stores them in the basement for a day or two before washing, which makes a lot of sense!
I haven’t ordered anything yet to make soap or shampoo bars from scratch – I just placed a huge order for supplies to make melt and pour soap, which basically takes the saponification out of it, but you can still add in scents and other things to personalize the soap. Once I use those supplies up, I am going to put my newfound knowledge to the test!
Thanks so much to Chrissy for taking the time and effort to show me how to do this!

What fun you are having! You are an inspiration for moms and people dealing with this horrific Pandemic, showing that fun can still be had.
Thanks for sharing.
LikeLiked by 1 person
Aw thank you so much! It’s been a rough week, and this comment really made my day. 🙂 So thank you Laurel-Rain!
LikeLike
Looks like fun! Well, I don’t know if I would have fun as I’m not really a craft person sometimes but it is definitely a practical thing to do. I’m glad you had someone fun to do it with too!
LikeLiked by 1 person
Lol!! I think had I done this alone, it would be like you said, just another practical type thing that was satisfying. But making it with Chrissy did make it a fun thing to do! 🙂
LikeLiked by 1 person
That sounds a lovely way to spend the day. You not only had fun doing it, but you get to enjoy the product
LikeLiked by 1 person
Absolutely! It smelled so amazing, I can’t wait for the finished product!
LikeLike
I bet your house now smells like a Lush shop! How long do you have to wait before it’s ready to use.
LikeLiked by 1 person
It does smell so good!! It takes 4-6 weeks for these bars to cure. So quite a while!
LikeLike
I bet you are counting down the days
LikeLiked by 1 person
That sounds like a fun project.
LikeLike
Pingback: Still Life, With Cracker Crumbs..
What a learning experience!
LikeLiked by 1 person
It was really cool!
LikeLike
Pingback: DIY Shampoo Bar – Still Life, With Cracker Crumbs..